XMPP Manager
XMPP Manager is an optional menu item. In order to have the option for XMPP Manager, there are a few steps you need to take to enable it.
XMPP Profile
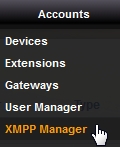
FusionPBX menu.
Accounts -> XMPP manager.
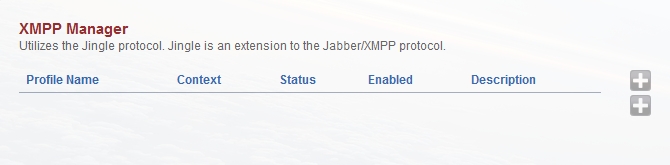
Click the

on the right to create a profile.
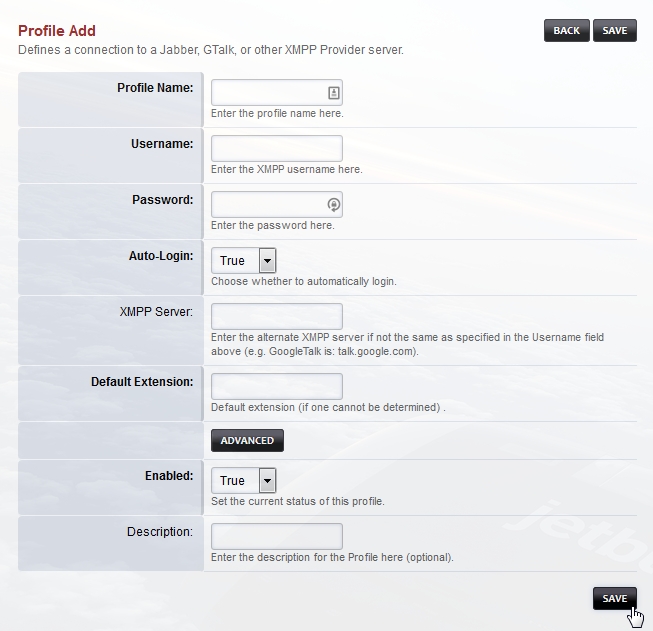
In this example we will setup Google Talk by creating a profile called gtalk.
Profile Name: gtalk
Username: your_user_account@gmail.com (use your account)
Password: use the correct password
Auto-Login: yes
XMPP Server: talk.google.com
Two approaches can be used for the next part.
Option 1.
Lets say my gmail number was 13051231234. This approach will send the inbound calls to the inbound routes with a destination number that is the default extension number that is set.
Default extension: 13051231234
Advanced -> Context: public
Option 2.
On a single tenant system. This will send the call to extension 1001 in the default context.
Default extension: 1001
Advanced -> Context: default
Option 3.
On a single tenant system. This will send the call to extension 1001 in the multi-tenant domain name.
Default extension: 1001
Advanced -> Context: your.domain.com
Save the settings and restart the module from Advanced -> Modules page.
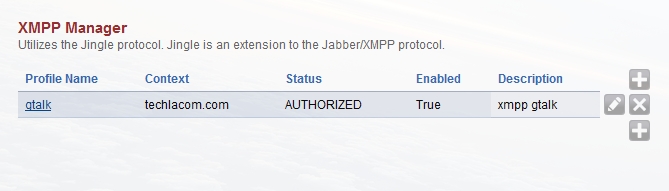
Go back to Accounts -> XMPP if the status says ‘AUTHORIZED’ then you are ready to go!
Note If you are not getting AUTHORIZED you might need to go to the google account settings and choose “Allow less secure apps: ON” under the Sign-in & security section. (https://support.google.com/accounts/answer/6010255?hl=en)
Outbound Routes
For this example we will use 11 digit dialing.
Gateway: XMPP
Dialplan Expression: 11 digits
Description: Google Talk
Press Save
If your XMPP profile is named something other than gtalk edit the outbound route you just created.
Bridge statement should look like: dingaling/gtalk/+$1@voice.google.com replace gtalk with the profile name you chose and then save it.
Enable XMPP
XMPP manager is used to configure client side XMPP profiles. It can be used as a client to register to make and receive call with Google Talk or other XMPP servers.
GIT Manually add XMPP
After version 3.8 XMPP is optional. To add XMPP do the following
Go to command line
cd /tmp
git clone https://github.com/fusionpbx/fusionpbx-apps.git
cd fusionpbx-apps/
mv xmpp/ /var/www/fusionpbx/app/
cd /var/www/fusionpbx/app
chown www-data:www-data -R xmpp/
Login to FusionPBX
Go to the GUI and click Advanced > Menu Manager > edit icon > click “Restore Defaults” at top right
Then go to Advanced > Upgrade click Schema, Data Types, and Permission Defaults then click execute
Click Status > SIP Status > Flush Memcache
Log out then log back in
You should now have XMPP Manager under Accounts